
PTU
Happy New Year Timeline
Not at proper size
This tutorial was written by me Fairygem on the 30th December 2012 and is all my own idea. Any resemblance to another tutorial is purely coincidental and not intended. You will need to have a working knowledge of Paint Shop pro and using layers.
Not at proper size
This tutorial was written by me Fairygem on the 30th December 2012 and is all my own idea. Any resemblance to another tutorial is purely coincidental and not intended. You will need to have a working knowledge of Paint Shop pro and using layers.
For this tutorial you will need:-
Paint Shop Pro - I am using Psp 9 but any version will work.
A tube of Choice - I am using Keith Garvey and you must have a license to use his artwork. You can find him HERE
A Scrapkit of Choice - I am using a PTU kit by Bibi's collection called Bibi New Year 2013 which you can find HERE. This kit is on sale for $1 and is definately a brilliant buy.
Font of Choice - I am using The Mocking Bird which you can find HERE
Plugins :-
Mura Meister - Copies
Eye Candy 4 - Gradient Glow
Ok lets begin.
1. Open a working layer of 800x300
2. Open your tube, copy and paste as a new layer onto your working layer.
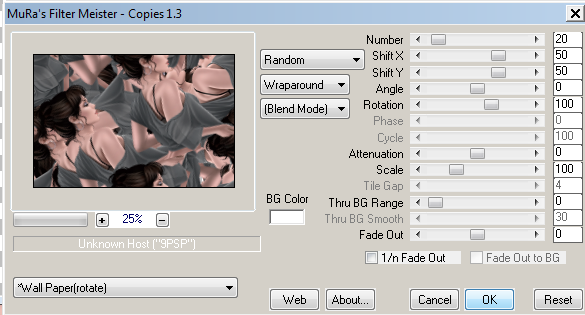
3. Duplicate your tube and on the original Effects, Mura Meister Copies with the settings below
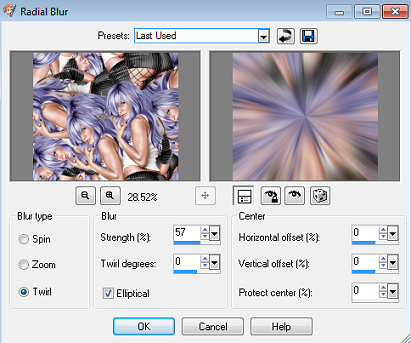
4. Adjust Blur Radial Blur with the settings below
5. Move your layer up so that the pinpoint is in the middle of your canvas.
6. Open Paper 12 and resize by 135%, Copy and paste onto your canvas. Change the blendmode to Overlay.
7. Find the font you are using and type out 2013 size 48. Align center of canvas.
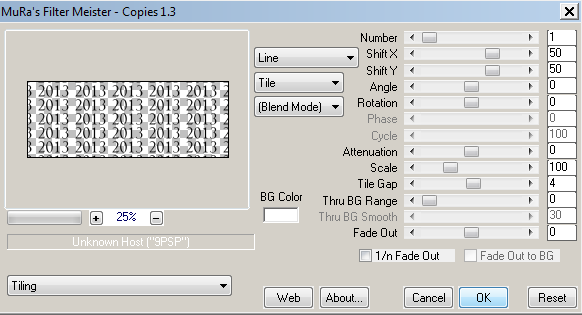
8. Go to Mura Meister Copies and use the settings below
9. Change the blend mode to Soft light and opacity to 75%
10. Open your close up tube, Copy and paste as a new layer, Move to the far right side showing the face but not alot of the hair. Change the blendmode to Soft light.
11. Open Element 65 (fireworks), copy and paste as a new layer onto your canvas. Move to the right side of your canvas.
12. Duplicate and mirror moving the fireworks more to the center, then merge down.
13. Open element 35, Copy and paste onto your canvas and move down till you can see the clock in the center of your canvas. Change the blendmode to Hard light.
14. Find a nice silver gradient and with your Mocking Bird font write out Happy New Year. See my tag for placement.
15. Change the blendmode to Hardlight. Duplicate and move to the left side of your canvas.
16. Unhide your tube layer, and move to the left side of your canvas.
17. Add a dropshadow of -2,2,50 and 5 to your tube layer.
18. Add a new layer, Selections all, Modify, Contrast by 5, selections Invert and flood fill with your silver gradient.
19. Effects and Enhance.
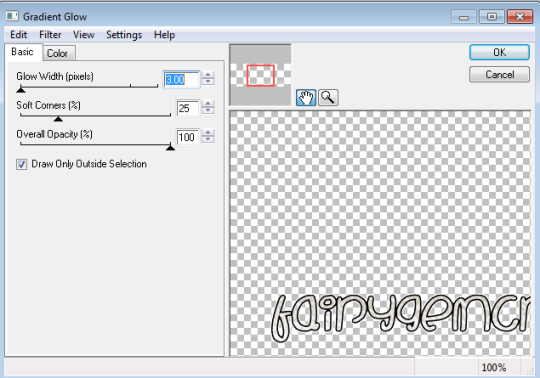
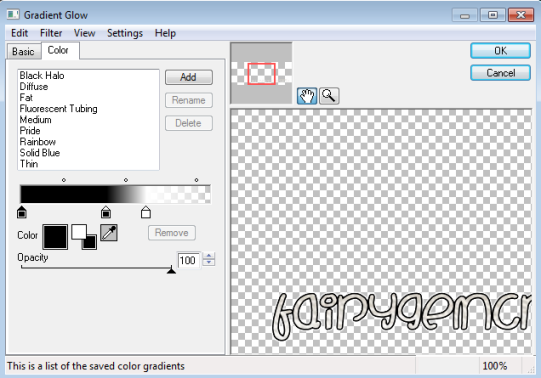
20. Add your name using the Mocking Bird font, Effects Gradient Glow with the settings below
21. Add your copyright and proper license then save as a png.
Thats it we're done. Hope you found my tutorial easy to follow if you have any questions please pm and i'll get back to you
Hugs
Gem xxx
No comments:
Post a Comment