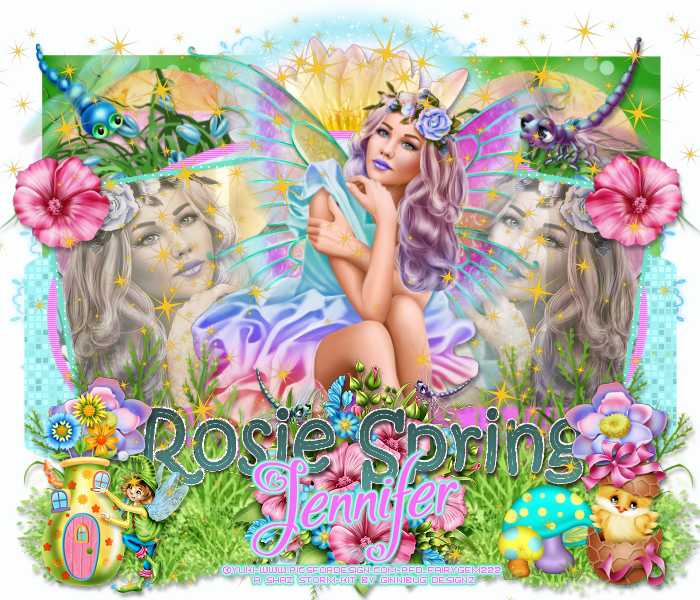
Rosie Spring
This tutorial was written by me Shaz/Fairygem on the 10th March 2018 and is all my own idea and creation. Any resemblance to other tutorials is purely coincidental and not intended.
This is a long tutorial using layers so you will need to have a working knowledge of templates and layers.
For this tut you will need:-
Paint Shop Pro - I use X5 but any version will do the same.
Scrapkit - I am using an absolutely gorgeous new spring kit by Jenn at Ginnibug Designz called Spring Rosie. You can buy this wonderful kit and more at Picsfordesign HERE. Jenn goes under the name LapisGin at PFD.
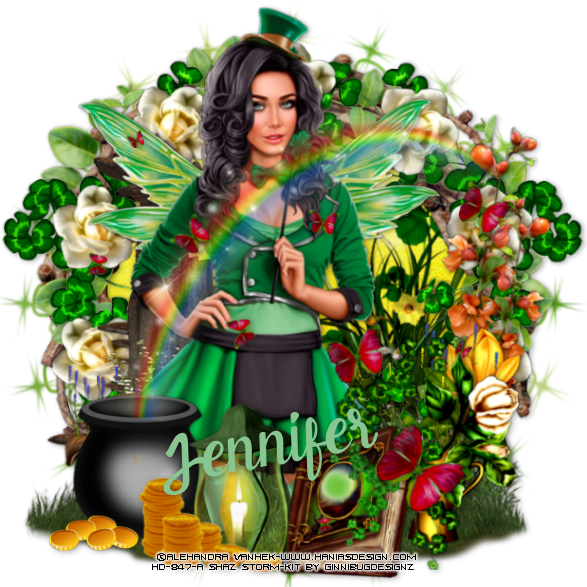
Tube of Choice - I am using the Match Tube by Yuki called Rosie. You can buy this tube at Picsfordesign HERE.
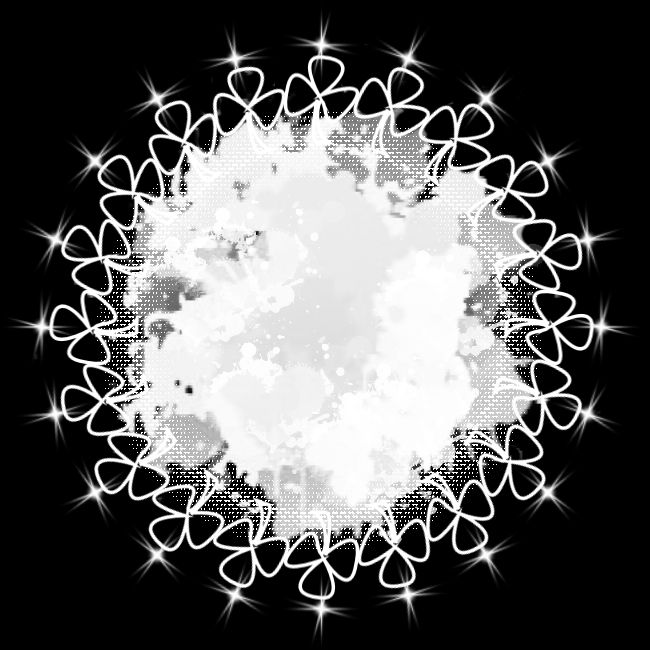
Mask of Choice - I am using a gorgeous spring mask by Mille at Millies Madness called Mask 148. You can get this Mask HERE
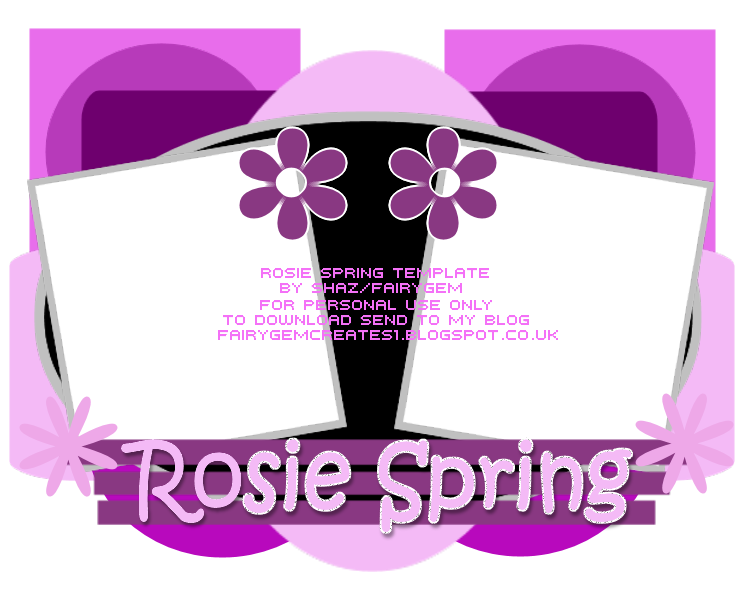
Template - My template Rosie Spring was made with this tutorial in mind. You can download it HERE.
Font of Choice - I am using a gorgeous font called Bigdey which you can get HERE.
Outside Plugins:-
Xero - Fritillary - Emphasis
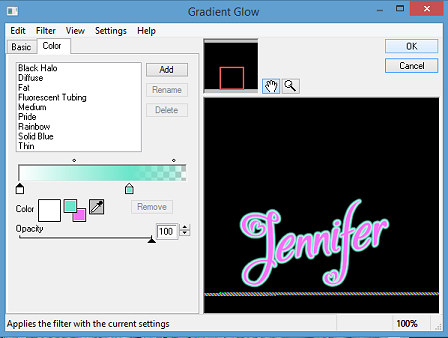
Eye Candy 4000 - Glass - Gradient Glow
Ok lets begin with the Template
1. Open my template and delete ©, Left and Right flowers and backgrounds and Left and Right bottom flowers.
2. Got to image Resize and resize by 90% making sure all layers are checked. Images Canvas size 700x600. Make sure you press the middle arrow to keep the template centered.
3. Open Paper 6, Resize by 90%. Copy and Paste moving to the bottom of the layer palette. Layers/Load Mask and find the mask you are using. Delete mask layer and merge group.
4. Merge together Top L and R Square. Selections Float, Defloat. Open Paper 7, Resize by 90% x2. Copy and Paste, Invert and delete overhanging. Delete original layer.
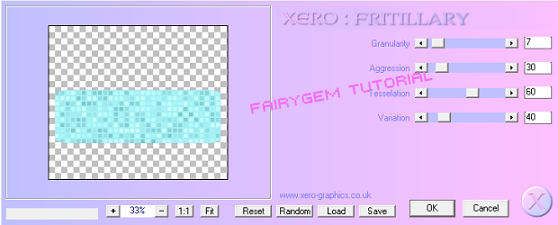
5. Highlight Rectangle layer, Selections float, defloat. Add a new layer and flood fill with #a6f1f4. Deselect and delete original layer. Plugins Xero Fritillary with settings below
6. Highlight Top Right Circle layer and merge down. Selections float, defloat. Open Paper 5, Resize by 90% x2. Copy and paste, Invert and delete. Deselect and delete original.
7. Highlight Top Rectangle R and merge down. Selections float, defloat. Open Paper 8, Resize by 90% x3. Copy and Paste, Invert and delete. Deselect and delete original.
8. Highlight Bottom Circle L and merge down. Selections float, defloat. Copy Paper 8 again and paste moving up so green is in the circles. Invert and delete. Deselect and delete original.
9. Highlight Middle Oval. Selections float, defloat. Open Paper 1, Resize by 85% x2. Copy and paste, invert and delete. Deselect and delete original.
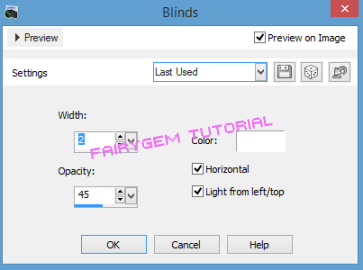
10. Highlight Oval background layer, Selections float, defloat. Add a new layer and flood fill with #F471F7. Deselect and delete original. Effects - Texture Effects - Blinds with settings below.
11. Highlight Oval Layer. Selections float, defloat. Open Paper 3, Resize by 85% then 90%. Copy and Paste, Invert delete. Deselect and delete original.
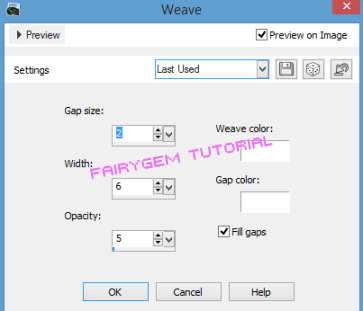
12. Highlight Right hand background frame and Merge down. Selections float, defloat. Add a new layer and flood fill with #6ce6ca. Deselect and delete original. Effects - Texture Effects - Weave with settings below.
13. Highlight Right Hand background and merge down. Selections float, defloat. Open Paper 2 and Resize by 90% x2. Copy and Paste, invert and delete. DeSelect but DO NOT DELETE ORIGINAL YET
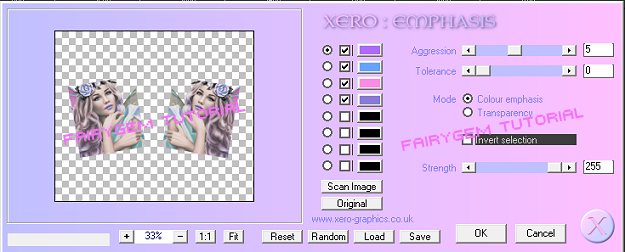
14. Back on the original with Magic wand click inside Right Square. Open tube, Copy and Paste. Resize by 55% and move the tube to what you want showing. Once happy Invert and Delete. Deselect and delete original. Duplicate tube and Mirror. Merge the two together. Plugins Xero - Emphasis with settings below.
Double click on layer palette and change tube Opacity to 65.
15. Highlight Bottom Rectangles. Selections float, defloat. Add a new layer and flood fill with #F471F7. Deselect and delete original layer.
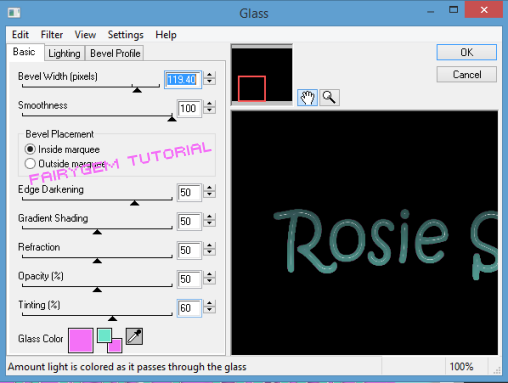
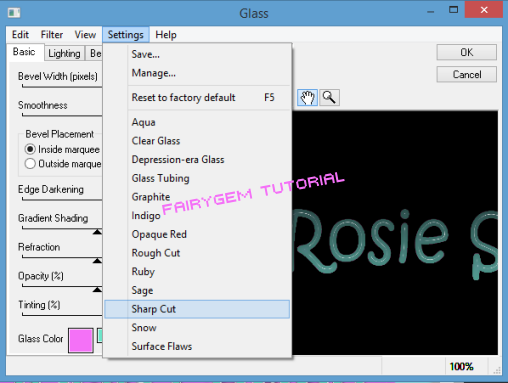
16. Highlight Wordart layer. Selections float, defloat. Add a new layer and flood fill with #A6F1F4. Deselect and delete the original. Plugins Eyecandy 4000 - Glass with settings below.
Ok thats our Template finished
Now to add some Elements.
17. On your layer palette highlight Raster 1. Open Element 28, Resize by 85%. Copy and paste moving up to top of tag.
18. Highlight Raster 4. Open Element 27, Resize by 85% x2. Copy and Paste moving to top left side. Duplicate and Mirror. Merge down and give Drop Shadow V4, H2, Opacity 35, Blur 4.65 Black.
19. Highlight Raster 6. Open element 63, Resize by 85%. Copy and Paste moving up so the flower is peeking out. D/S as above.
20. Highlight top layer. Open Element 9, Resize by 40% then 55%. Copy and Paste moving up and left. D/S as above.
21. Open Element 21, Resize by 40%. Mirror then Copy and Paste moving up and right. D/S as above.
22. Highlight Raster 12. Copy and Paste your Tube. Resize by 40% then 90%. Mover her down so it looks like she's sitting on the Rectangles. D/S as above.
23. Highlight top layer. Open Element 2, Resize by 30% then 55%. Copy and Paste moving to top of left frame. Duplicate and Mirror. Merge down. D/S as above.
24. Open Element 15, Resize by 25% then 75%. Copy and Paste moving to the top of Pink Rectangles. Duplicate and Mirror. Merge down. D/S as above.
25. Open Element 6, Resize by 40%. Copy and Paste moving down and left. On layer Palette move above Tube layer. Duplicate and Mirror. Merge down. D/S as above.
26. Open Element 1, Resize by 40%. Copy and Paste moving inbetween element 6. Sharpen and D/S as above.
27. Open Element 12, Resize by 25%. Copy and Paste moving down and right. Sharpen and D/S as above.
28. Open Element 18, Resize by 40% then 80%. Copy and Paste moving down to left. Sharpen and D/S as above.
29. Open Element 44, Resize by 30% then 65%. Copy and Paste moving down to right side. Sharpen and D/S as above.
30. Open element 35, Resize by 25%. Copy and Paste moving down and left. Sharpen and D/S as above.
31. Open Element 49. Copy and Paste moving over to the right. Duplicate and Mirror. Merge down. With your Eraser tool erase the sparkles on tube face.
32. Add Copyright and License details.
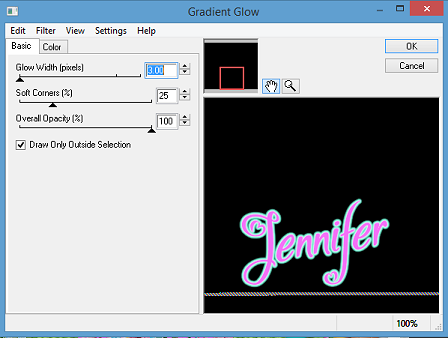
33. Write your name using Bigdey font and colour #F471F7. Convert to raster and give Gradient glow settings below.
Save as PNG.
Thats it we are done, as i said it was a long tutorial but i hope you love the end result as much as i did.
Remember though this is just a guideline add things you wish to use, change things around, make the tag yours.
Any questions or queries don't hesitate to ask
I would love to see your results so please email me so i can get them added.
Email addy - fairygem1@gmail.co.uk
Thanks so much
Hugs