
PTU
Cityside Celebrations

This tutorial was written by me Fairygem, on the 27th of December 2012 and is all my own idea. Any resemblance to other tutorials is purely coincidental and not intended. I don't normally use PTU kits in my tutorials but i couldn't help myself with the New Year kits Bibi's collection has come out with. You will need a working knowledge of Paint shop pro when doing this tutorial.
For this tutorial you will need:-
Paint Shop Pro - I am using Psp9 but any version will work.
Tube of choice - I am using the awesome artwork of Keith Garvey, you will need to have a license to use his art which you can purchase from HERE
Scrapkit of Choice or the one i am using by Bibi's Collections called 2013 Fireworks. You can purchase the scrapkit from HERE
Mask of Choice or the one i am using by WeeScotsLass - WSL_mask289 which you can find HERE
Font of Choice or the one i am using - Aka Dora which you can find HERE
Plugin :- Eyecandy 4 - Gradient Glow
Ok lets begin
1. Open a working layer 600x600.
2. Add Paper 13, Layers Load mask from disk and find Wsl_mask289. Delete the mask layer then merge group together.
3. Open Element 50, copy and paste as a new layer, and move to the right hand side of the tag.
4. Highlight Element 50, Selections Float, defloat and paste your close up onto the cityline. Selections Invert and delete. Change the blend mode to Hard Light and the Opacity to 75%
5. Open Element 11, Copy and paste as a new layer above the mask layer moving it to top right.
6. Open Element 13, Copy and paste moving to the top left hand side.
7. Open Element 19, Copy and paste moving it over your City line and your close up.
8. Open Element 22, Copy and paste moving towards the top of the lefthand side.
9. Open Element 25,Resize by 60%, Copy and paste moving to the botton lefthand side at your cityline.
10. Open Element 26, Resize by 50%, Copy and paste placing it next to the globe but nearer to the righthand side of the tag.
11. Open Element 38, Resize by 50%, Copy and paste placing it at the top of the buildings. Check my tag out for placement.
12. Still on Element 38, Selections float, defloat, Modify and Expand by 3, Add a new layer and flood fill with C0c0c0. Deselect then go to Adjust Add/Remove noise. Add noise 82% Random. Move underneath Element 38.
13. Open Element 54, resize by 40%, copy and paste placing next to the heart candle.
14. Open your tube, Copy and Paste placing it at the right hand side of the tag.
15. Selections float, defloat, Modify and Expand by 3. Add a new layer and flood fill with white. Deselect.
16. Add/Remove noise 82% Random.
17. Add a dropshadow of -2, 2, 50 and 5 and move under the tube layer.
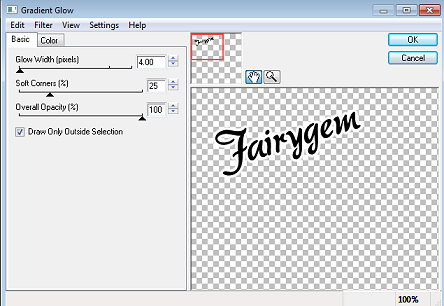
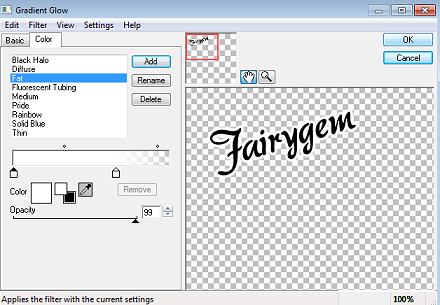
18. Add your name, then Eyecandy 4 Gradient Glow with the settings below
19. Take your Magic wand and click inside the Glow till the ants are marching around it. Adjust Add/Remove noise and add noise at 65% Gaussian.
20. Add your Copyright and license number and Save as a png
Hope you had fun following my tutorial if you have any questions feel free to pm and i'll get back to you asap.
Have a Wonderful New Year
Hugs
Gem xxx
No comments:
Post a Comment