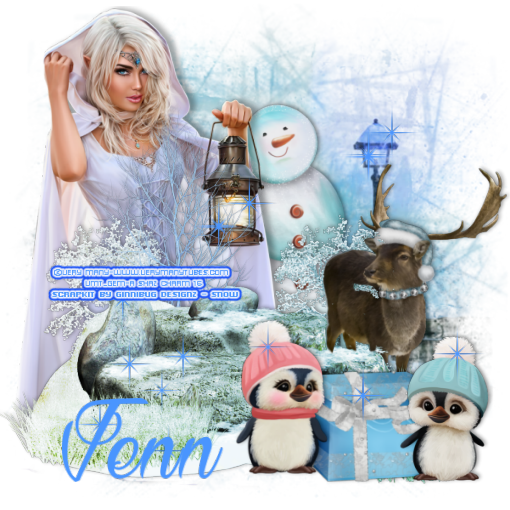
Snow Glistens
This tutorial was
written by me fairygem/Sharon on the 25th November 2016 and is all my own
creation and idea. Any resemblance to another tutorial is coincidental and not
intended.
For this tutorial you
will need a working knowledge to Paint Shop Pro and working with layers.
You will need:-
Paint Shop Pro – I use
X5 but any version will work
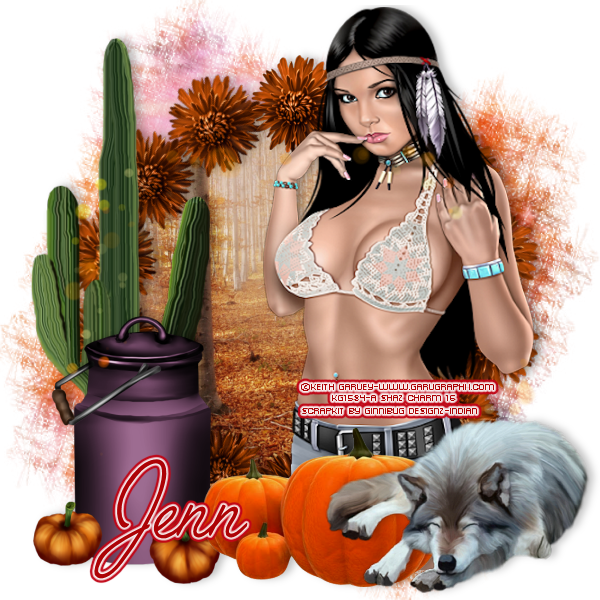
Scrapkit of Choice – I am
using a beautiful kit by Jenn at Ginnibug Designz. You can buy this kit at
Hania’s Design HERE
Tube of choice – I am
using an awesome tube by Very Many. You must have a license to use her art
which you can find HERE
Mask of choice – I am
using one by Trese – TreseMask112. You can find the mask HERE
Sparkles - You can get a lot of lovely sparkles on Deviantart, just put in sparkles and loads will come up
Font of Choice
Ok lets begin
1.
Open
image 600x600
2.
Open
Paper Sp9 and resize by 85%. Copy and paste as a new layer. Layers Load mask
from Disc and load your mask up. Delete and merge image.
3.
Open
Se49 and copy and paste as a new layer moving slightly down and to the right of
image.
4.
Open
Se27 and resize by 55% and copy and paste as a new layer moving behind Se49 and
over to the left.
5.
Open
Se90 and resize by 55%. Copy and paste placing behind Se49 and over to the
right. Now Select float, defloat and taking your eraser click onto Se49 and
erase the part of the bush in front of the deer. Once happy deselect.
6.
Open
your tube and if using same as me resize by 45% then 75%, I always tend to
resize twice as it doesn’t distort the tube. Copy and paste as a new layer
moving over to the left side of your image. Mirror and give dropshadow of V-1,
H7, Opacity 35 and Blur 9.83 Black. Take your eraser tool and tidy up the
bottom of the image where her dress and cape are hanging down.
7.
Click on the top layer in your pallet. Open
Se10 and resize by 35% then 70%. Copy and paste placing over to the right of
the image.
8.
Open
Se15 and resize by 35%. Copy and paste as new layer moving next to the parcel.
9.
Open
Se20 and resize by 35%. Copy and paste as a new layer moving to the right side
of the parcel.
10.
Now
give all layer bar your mask and tube layers a dropshadow of V-1 H2 Opacity 45
Blur 7.20 Black.
11.
Go
to Paintbrush and find your sparkle, Change your colour pallet to #4a95fe. Add
a new layer and play around with the sparkle adding a few touches here and
there, remember this is your tag this tutorial is just a guideline.
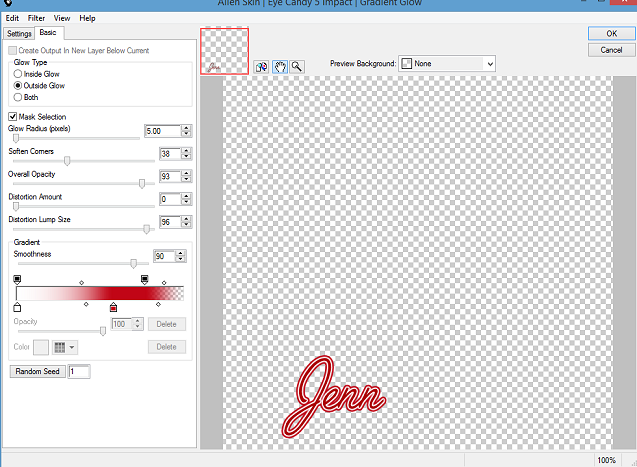
12.
Add
your name with the same colour then and copyright and license.
13.
Save
as a PNG
That’s it we are done.
Hope you found my tutorial easy to follow. I would love to see your results so
they can be added to my blog so please feel free to email or pm me.
Thanks so much
Hugs
Sharon/fairygem