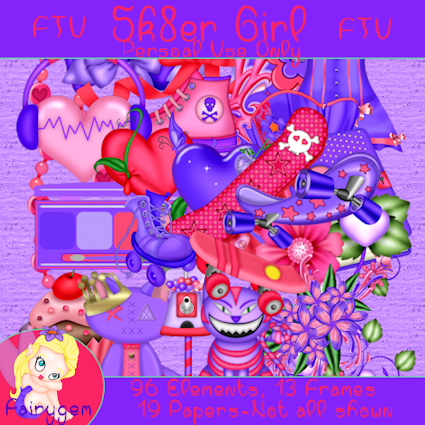
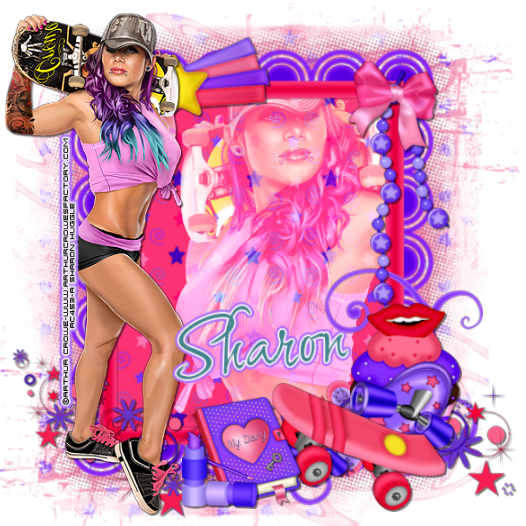
Sk8ter Girl
This tutorial was written by me on the 27th
October 2014 and is my own creation. Any resemblance to another tutorial is
purely coincidental and not intended.
For this tutorial you will need to have a knowledge of
working with layers and Paint Shop Pro.
You will need:-
Paint Shop Pro – I am using PSPX5 but any version will work.
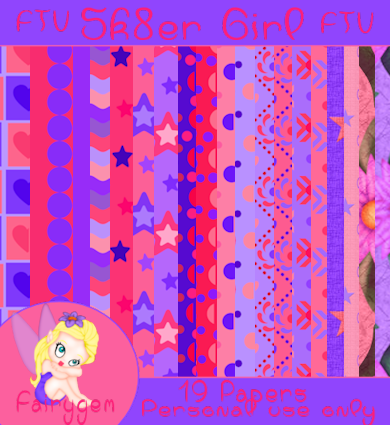
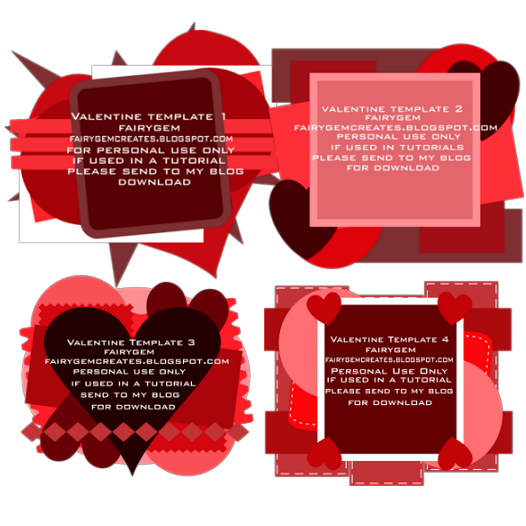
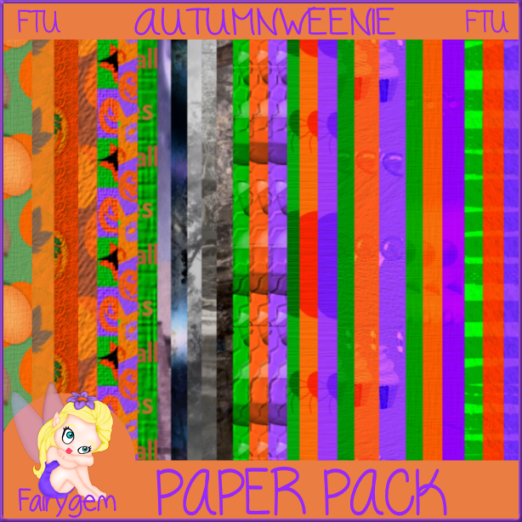
Scrapkit of Choice or Mine which you can get HERE
Mask of Choice or the one I am using by WeeScotsLass 221 HERE
Font of Choice
Plugins needed
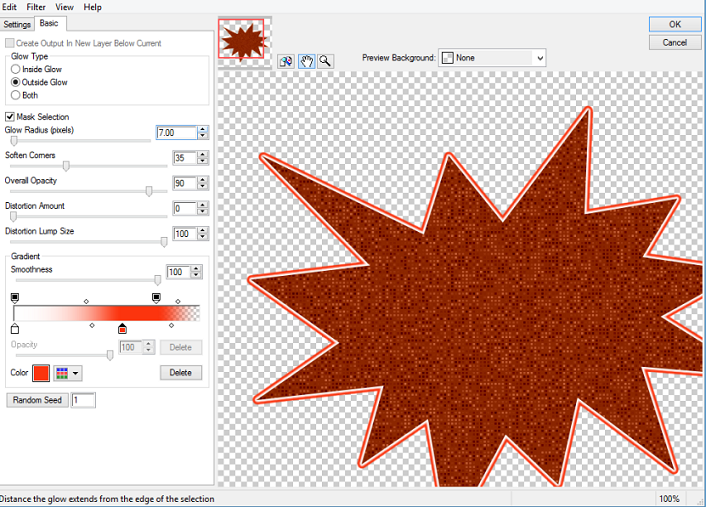
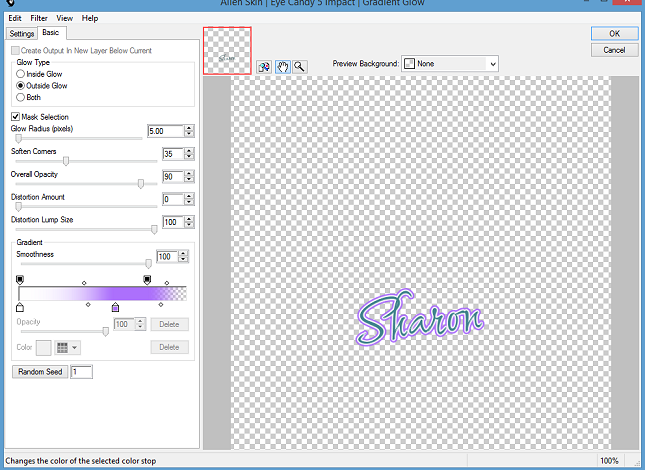
Eye Candy 5 Impact – Gradient Glow
Effects DropShadow with settings H2, V2, Op 50 and Blur 0
Lets Begin
1. Open a new image 650x650
2. Open Paper 3 copy and paste as a new layer on your image
.
3. Layers load mask from Disk, Source Lumiance, Fit to
Canvas Hide all Mask. Delete mask and merge group.
4. Open Flower Swirl Frame, resize by 85% and copy paste as
a new layer. Give a drop shadow of settings above
5. Take your freehand selection and draw round the centre of
the frame, Selections Modify and expand by 6.
6. Open paper 15 resize by 85% twice, copy and paste as a
new layer onto your working canvas, Invert and delete the overhanging. Do Not
Deselect.
7. Take your close up tube and copy paste onto your working
canvas, moving it to the middle of the frame, Resize if needed I resized mine
by 70%. Place to the right side of the frame, delete. This should get rid of
any hanging tube. Deselect and change the blend mode to Screen
8. Open Trail 1 resize by 65%. Copy and Paste as a new layer
and move to the bottom of the frame. Give drop shadow as above
9. Open Rainbow Star, resize by 50%. Copy and Paste as a new
layer and move to the top left side slightly into the middle of the frame. Drop
shadow
10. Open Lips Cupcake, resize by 65%. Copy and Paste as a
new layer and move to the bottom right side of the frame. Drop shadow
11. Open Bead Dangle Purple Star, resize by 75%. Copy and
Paste as a new layer placing to the top right of the frame. Drop Shadow.
12. Open Bow 6, resize by 45%. Copy and Paste as a new layer
moving to the top right side of the frame above the dangle. Drop Shadow
13. Open Skateboard Pink Stars, resize by 55%. Copy and
Paste moving to the bottom right hand side of frame above the Cupcake making
sure that you can still see the cupcake. Look at my placing.. Drop Shadow
14. Open Skateboard Pink, resize by 45%. Copy and Paste
moving to bottom right side of frame above Pink Stars skateboard. See my tag
for placing. Drop Shadow.
15. Open Diary, resize by 45%. Copy and Paste to bottom of
frame slightly left of the skateboards. Drop Shadow.
16. Open Purple Lipstick, resize by 45%. Copy and Paste as a
new layer placing left of the diary. Drop Shadow.
17. Open your tube, if using same as me resize by 75%.
Mirror (Flip Horizontal in X5 and above). Place to the left side of the frame.
Sharpen and give a Drop Shadow.
18. Resize the canvas by 90%
19. Add Copyright and relevant license details.
20. Add your name, I used Shalimar Swash for my name. Add
Gradient Glow settings as below.
Save as a png.
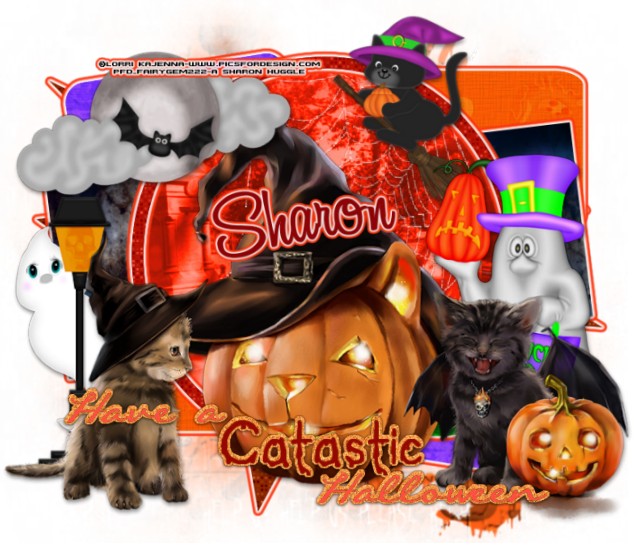
That’s it we are done hope you found my tutorial easy to
follow I would love to see your results leave me a message if you would like to
share.
Hugs