PTU Once Upon a Time PTU
This tutorial was written by me Sharon/Fairygem on the 24th
March 2015 and is all my own creation. Any resemblance to other tutorials is
purely coincidental and not intended.
For this tutorial you will need to have a working knowledge of
Paint Shop Pro and using layers.
You will need:-
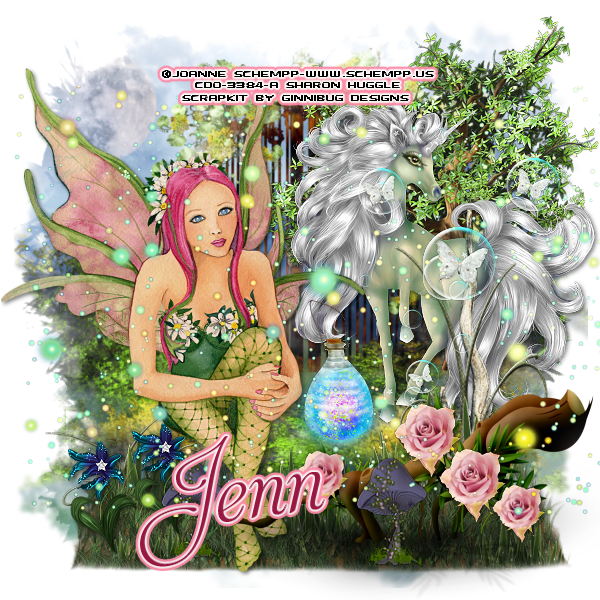
Scrap Kit – I am using a beautiful new Kit by Ginnibug Designs called Once
Upon a Time – You can get this kit HERE or HERE
Tube of Choice – I am using a beautiful tube by Joanne Schempp called Daisy Fairy
which you can buy and CDO HERE
Plugin:-
Eye Candy Impact – Gradient Glow
Ok Lets Begin
1. Open new image 600x600
2. Open Paper 17 and Resize by 75% then 85%. Copy and Paste as a new layer. Layers Load Mask and find the mask you
are using, Delete and Merge Group.
3. Open Element 51 and Resize by 50%. Copy and Paste as a new layer. Mirror and
Move to the right side of the image. Sharpen then add a drop shadow of 2, 2,
50, 5.92 black.
4. Open Element 11 and Resize by 45%, Copy and Paste as a new layer moving to the
middle right of the image. Sharpen and add drop shadow previously used.
5. Open Element 39 and Resize by 85%. Copy and Paste placing at the bottom of the
image. Sharpen.
6. Open your Tube, Copy and Paste as a new layer moving to the
left side of the image. Add a drop shadow previously used.
7. Open Element 36 and Resize by 50%, Copy and Paste placing bottom right of the
image. Sharpen and add Drop Shadow.
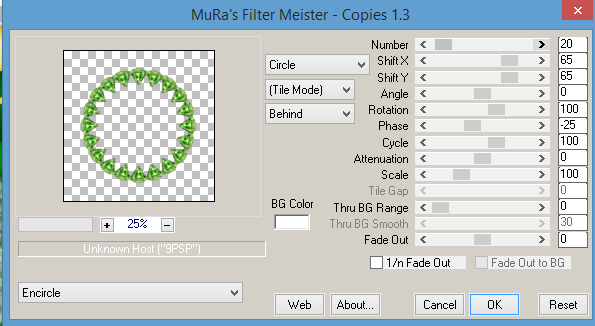
8. Open Element 52 and Resize by 20% then 70%. Copy and Paste as a new layer placing at the bottom right side. Duplicate
and move it slightly higher, Duplicate and Resize again by 80% moving slightly over to the right, Duplicate
and move to the centre. See my tag for placement if you get confused, its alright
am confused and I just did it lol. Merge all the roses together, Sharpen and give
Drop shadow previously used.
9. Open Element 9 and Resize by 15%, Copy and Paste as a new layer placing to
the left side of the tube, duplicate and move it slightly more over to the
left. Merge Down and Sharpen, giving the same drop shadow previously used.
10. Open Element 57 and Resize by 15% then 85%, Copy and Paste as a new layer placing bottom right of tube, duplicate
and resize again by 90% moving to the
left side of tube. Merge down and Sharpen and give drop shadow previously used.
11. Open Element 37 and Resize by 25%, Copy and Paste as a new layer placing to
the right of the tube in between the unicorn and tube. Sharpen and give Drop
Shadow previously used.
12. Open Element 41 and Resize by 50%, Copy and Paste as a new layer placing over
the unicorn. Sharpen and give same Drop Shadow.
13. Open Element 10 and Resize by 80%, Copy and Paste so that its central in the
image. Sharpen.
14. Add your Copyright and License.
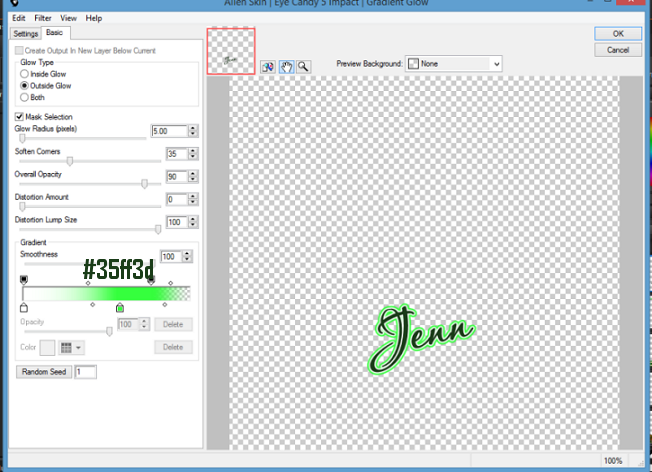
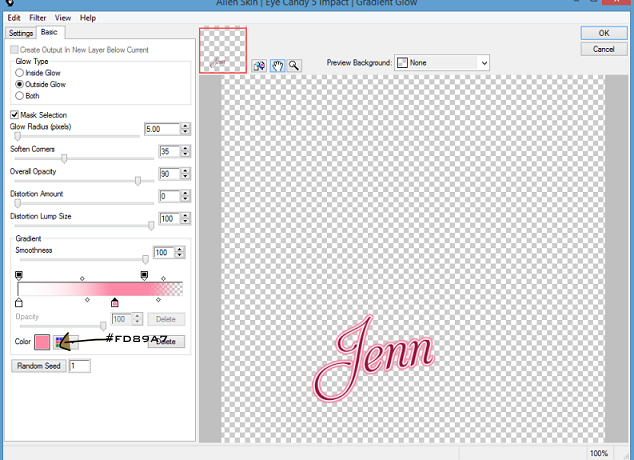
15. Add your name using colour # 991741 and give a Gradient glow
with settings below. Add Drop Shadow.
Save as a PNG.
That’s it we’re done hopefully you followed the tutorial ok and didn’t have a problems. I would
love to hear from you. If you have any questions please Email me, i would also love to see your creations and put them on my blog too so again please email me your results.
Hugs