
PTU Slumber Love
PTU
This Tutorial was written by me, Sharon/Fairygem on the 18th
March 2015 and is all my own creation. Any resemblance to other tutorials is
purely coincidental and not intended.
For this tutorial you will need:-
Scrap Kit of Choice – I am using an Awesome kit by Tiny Turtle Designs called Love
Slumber and you can buy it HERE – When Laura is having a sale on her kits go have a lookie she’s got some crackers and best
time to buy as her prices are outstanding.
No outside Plugins used in this tutorial.
Ok lets Begin:-
1. Open Image 600x600.
2. Open Paper 23 and Resize by 85% twice. Copy and Paste as a new layer.
3. Layers Load Mask and find your BD Set 9-96, Load Mask, Delete
mask layer and merge group. Duplicate and Merge down.
4. Open Element 66 and Copy Paste as a new layer.
5. Take your Magic Wand and click in the middle of your Heart
Frame. Expand by 10.
6. Open Paper 3 and Resize by 85% twice. Copy and Paste as a new layer, Invert
and Delete. Move this layer under the frame.
7. Take your Magic wand again and click inside the frame.
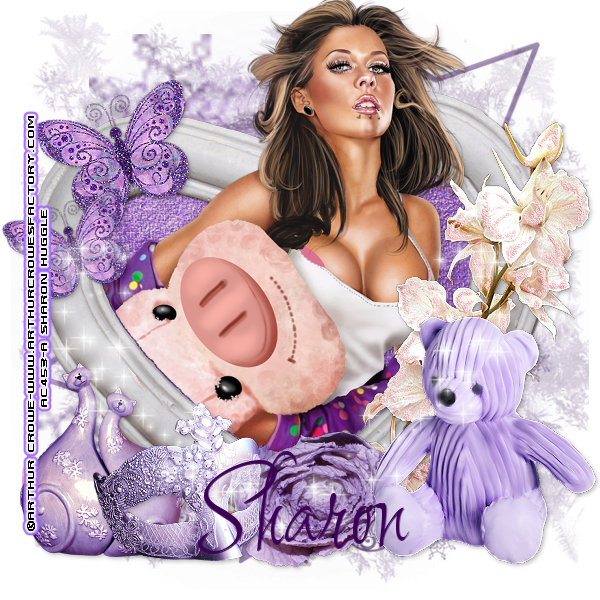
8. Open your Tube and Resize by 65% Copy and Paste placing in the Heart. Make
sure you have the parts of the tube you want to use in the heart a slightly
above. Invert then take your Erazer and Erase the parts of the Tube you don’t want to use. See my Tag for
Placement. Add a Drop Shadow of 2, 2, 24 and 5.92 Black.
9. Back onto the Heart Frame, Add a Drop Shadow of 2, 2, 65 and 3
Black.
10. Open Element 14 and Resize by 65% . Copy and Paste as a new Layer moving to the
right side of the Heart Frame. Sharpen and Add a Drop Shadow of 2, 2, 24, 5.92
Black.
11. Open Element 3 and Resize by 25% then 85%
, Copy and Paste as a new Layer placing the flower in the middle bottom
of the heart. Sharpen and add previous Drop Shadow.
12. Open Element 110 and Resize by 35% , Copy and Paste as a new layer. Sharpen and
move to the far left side of the frame. Add Drop Shadow previously used.
13. Open Element 73 and Resize by 35% , Copy and Paste as new layer placing to the
Left side. Sharpen and give previous Drop Shadow.
14. Open Element 128 and Resize by 50% , Copy and Paste as a new Layer placing to
the right side of the image. Sharpen and give previous Drop Shadow.
15. Open Element 2 and Resize by 20% , Copy and Paste as a new Layer placing to
the top of the frame on the left side. Sharpen. Rotate, Free Rotate 17% left.
16. Duplicate and Resize by 85%
, Move slightly down. Merge down. Sharpen and give previous Drop Shadow.
17. Add a New Layer and give the image a Sparkle brush. There are
some cracking Sparkle brushes out there just google.
18. Add your Copyright and License Numbers.
19. Add your name, for colour I used # 3c0256.
Save as a PNG.
That’s it we are done hope you found this tutorial easy to follow. Any
questions or concerns please don’t hesitate to contact me. I would love to see your results and
hear your views.
Hugs
Sharon xxx
No comments:
Post a Comment