
Have a Beary Christmas

This tutorial was written by me fairygem/Sharon on the 11th December 2017 and is all my own idea and creation. Any resemblance to other tutorials is purely coincidental and not intended. You will need to have a working knowledge of Paint Shop Pro for this tutorial.
You will need:-
Paint Shop Pro - I am using X5 but any version will work.
Scrap Kit - I am using a gorgeous kit by Jenn at Ginnibug Designz called Beary Christmas. You can buy this kit at Hania's Design HERE.
Tube of Choice - I am using a sexy tube by Keith Garvey called Elf. You can buy this tube at Keith's store HERE. Please remember that you need a working license to use Keith's Art.
Mask of Choice - I am using a lovely Christmas mask by Lori at Lori's PSP Graphics. The mask is called LLM-804 and can be downloaded HERE.
Font of Choice - I am using Shifty_Chica_2 which you can download HERE.
Image of Choice - I am using a winter image from SXC.HU which you can find in Google Search. Remember to put © on your tag so that people know where you got the image from.
Ok Open your tube in psp and Lets Begin:-
1. Open new image 650x650 transparent
2. Open Paper 2, Resize by 80%. Copy and Paste as a new layer. Layers load Mask and find the mask you are using. Delete Mask layer and merge group.
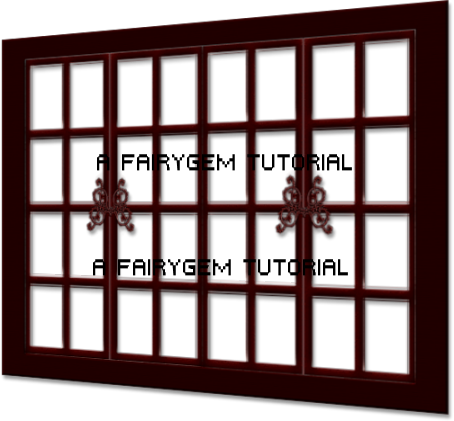
3. Open Element 82, resize by 70%. Copy and Paste as a new layer moving to the right. With your Pick Tool go to the top left corner of the frame. Press Shift and move the frame down by 2 squares. Now do the same with the bottom left part of the frame only move up by 2 squares. Make sure you keep your shift pressed when moving the frame. You window should now look like mine. Drop Shadow V4, H2, Opa 40, Blur 4.65 Black.
4. With your freehand tool draw around the window part of the frame. Expand by 6. Open your image and resize - I resize mine by 65%. Copy and Paste as a new layer placing what part of your image you would like to see. Invert and delete overhanging. Move under your frame layer.
5. Open Element 2, Resize by 80%. Copy and Paste as a new layer moving over to the right. Sharpen and D/S as above.
6. Open your Tube and if using the same as mine Resize by 85%. Copy and Paste as a new layer moving left. D/S as above.
7. Open Element 8, Resize by 40%. Copy and Paste as a new layer placing at top right side of frame. D/S as above.
8. Open Element 36, Resize by 75%. Copy and Paste as a new layer moving to top of frame. On layer palette move this under your tube and tree layer. D/S as above.
9. Open Element 42, Resize by 45%. Copy and Paste as a new layer moving next to the tube. On layer palette move under tube. D/S as above.
10. Open Element 11, Resize by 65%. Copy and Paste as a new layer moving slightly right. D/S as above.
11. Open Element 83, Resize by 60%. Copy and Paste as a new layer moving down and in front of tube. D/S as above.
12. Open Element 30, Resize by 35%. Image free rotate and rotate by 12 Right. Copy and paste as a new layer moving right. Duplicate and resize by 85%. Mirror and move slightly down. Merge Down and D/S as above.
13. Open Element 31, Resize by 25% then 55%. Free Rotate by 15% left. Copy and Paste as a new layer moving down. Duplicate and resize by 90%. Move slightly left. Merge down and D/S as above.
14. Add Copyright and License Details.
15. Add name using Shifty_Chica_2 and colour #8a0218 with stroke #1 and colour #00000.
Save as a PNG
Thats it we are done. I hope you enjoyed my tutorial and found it easy to follow. Any Questions or Queries please don't hesitate to get it touch. Remember though this is a guideline make the tag your tag with your own touches.
Hugs
fairygem/Sharon
No comments:
Post a Comment