
They call it Witchcraft
This tutorial was written by me Fairygem/Sharon on the 28th
October 2017 and is all my own idea and creation. Any resemblance to other
tutorials is purely coincidental and not intended. You need to have a basic
knowledge of working with Paint Shop Pro to understand this tutorial.
You will need:-
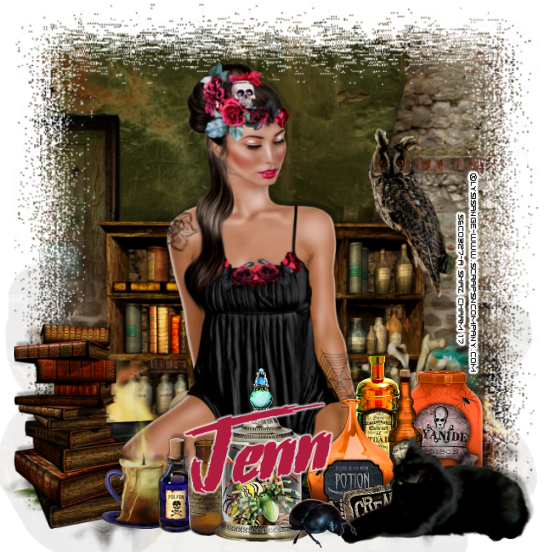
Scrapkit – I am using a beautiful kit by Jenn at Ginnibug
Designz called Witchcraft. Oh wow this kit is totally amazing with so many
elements etc to use.
You can buy this kit at Hania’s Design HERE
Tube of Choice – I am using a gorgeous tube by Lysisange
called Witchcraft. You can buy Lysisange Art at Scraps and Company HERE
Mask of Choice – I am using a wonderful mask by Vix called
VixMask96. You can download it HERE
Font of Choice – I am using a font called Stranger in the
Night. You can download HERE
No outside plugins used
This tutorial is going to be so easy to follow!!
Lets begin
1.
Open new image 650x650
transparent
2.
Open Paper 4, Resize by
90%. Copy and paste as a new layer. Load Mask and find mask you are using. Delete and merge group.
3.
Open Cluster 2, Resize by 65%. Copy and paste
moving down the canvas
4. Open your tube and if using same as me choose which colour
you would like and make that layer active. Resize by 65% x2 then 85%. Copy and
paste as a new layer moving down the canvas. Drop Shadow V-5, H3, Opacity 30,
Blur 3.23 Black.
5.
Open Element 42, Resize
by 30%. Copy and paste as a new layer moving down and to the left. Sharpen then
Drop Shadow as above.
6.
Open Element 89, resize
by 65% then mirror. Copy and Paste as a new layer moving down and right. D/S as
above.
7. Open Element 83, Resize by 30% then mirror. Copy and Paste
as a new layer moving down and left. D/s as above.
8.
Open Element 81, resize
by 25%. Copy and Paste as a new layer moving down and slightly left. Sharpen
and D/S as above.
9.
Open Element 37, resize by 15% then 90%. Copy
and paste as a new layer moving down and left. Sharpen then D/s as above.
10.
Open Element 96, resize
by 40%. Copy and paste as a new layer moving down. Sharpen then D/s
11.
Make layer 4 Active.
Open element 113, Resize by 35%. Copy and paste as a new layer moving over to
the right. Sharpen and D/s.
12.
Open Element 19, resize
by 35% x2 then 45%. Copy and paste as a new layer moving down and slightly
right. D/s
13.
Add your name using
font and colour #af1c3e.
14.
Add your copyright and
license details.
Save as a png.
That’s it we are done, told ya it was easy didn’t i. Hope
you enjoyed the tut and didn’t find anything confusing.
If you have any questions please feel free to ask.
Hugs
Gem/Sharon
No comments:
Post a Comment