
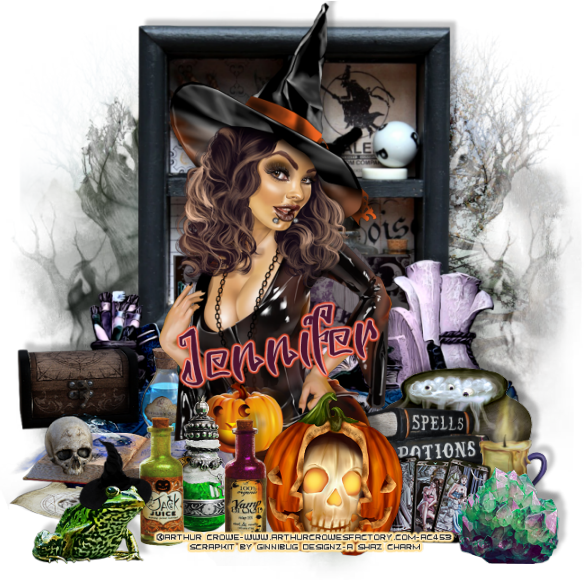
Spell Bound
This tutorial was written by me Shaz/Fairygem on the 25th October 2018 and is all my own idea and creation. Any resemblance to another tutorial is purely coincidental and not intended. For this tutorial you will need to have a working knowledge with the Paint Shop Pro program.
You will need:-
Scrapkit - I am using a beautiful new kit by Jennifer at Ginnibug Designz called Sybil Spells. This kit is so full of plenty of Elements and Papers as well as a few Clusters. You can buy this kit at Hanias Design Here and Picsfordesign Here
Tube of Choice - I am using an older tube by Arthur Crowe. I love his art and using his older tubes are a great way to start using him again. You can buy this tube and many more Here.
Mask of Choice - I am using one of Tonya's Masks called TBT_Halloween 1. You can find this mask and many more beautiful things Here.
Font of Choice - I am using a Halloween font called Spooky Wooky. You can find this at DA Fonts.
Plugins :-
Eyecandy 4000 - Gradient Glow.
Drop Shadow throughout tutorial unless otherwise stated is
V-8, H8, Opacity 23, Blur 6.40 Colour Black.
Lets Begin :-
Open tube in Psp and minimise.
1. Open New image 650x650.
2. Open Paper 6 from kit. Copy and Paste onto canvas. Layers Mask and load the mask you are using. Delete mask layer and Merge group.
3. Open Element 12. Resize by 75%. Copy and Paste moving up toward top of canvas. Give Drop shadow.
4. Open Element 42. Resize by 55% then 80%. Copy and Paste moving slightly down. Give Drop shadow.
5. Open Element 76. Resize by 80%. Copy and Paste moving slightly down. Give Drop shadow.
6. Open Element 4. Resize by 30%. Copy and Paste moving slightly right. Sharpen and give Drop shadow.
7. Open Element 35. Resize by 70%. Copy and Paste moving left and slightly down. Sharpen and give Drop shadow.
8. Open Element 57. Resize by 25%. Copy and Paste moving right and slightly down. Sharpen and give Drop shadow.
9. Open Element 48. Resize by 25%. Copy and Paste moving far right and down. Sharpen and give Drop shadow.
10. Maximise your tube and if using the same as me close off all layers apart from piercings and Tube. Copy and Paste. Resize by 55% and position where you would like her. Drop shadow.
11. Open Element 58. Resize by 25% then 90%. Copy and Paste moving right and down. Sharpen and give Drop shadow.
12. Open Element 68. Resize by 25%. Copy and Paste moving slightly left and down. Sharpen and give Drop shadow.
13. Open Element 73. Resize by 30%. Copy and Paste moving slightly right and down. Sharpen and give Drop shadow.
14. Open Element 87. Resize by 40%. Copy and Paste moving slightly left and down. Give Drop shadow.
15. Open Element 88. Resize by 40%. Copy and Paste moving left and down. Give Drop shadow.
16. Open Element 95. Resize by 25%. Copy and Paste moving far left and down. Sharpen and give Drop shadow.
17. Open Element 102. Resize by 25%. Copy and Paste moving far right and down. Sharpen and give Drop shadow.
18. Add Copyright and License details.
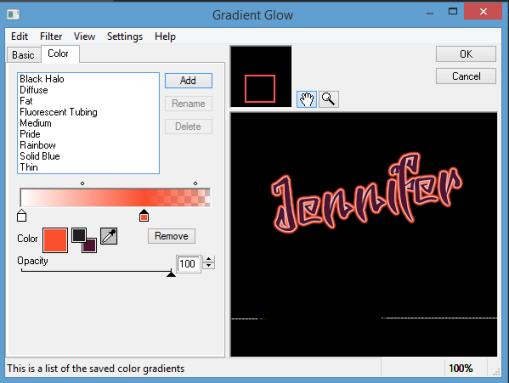
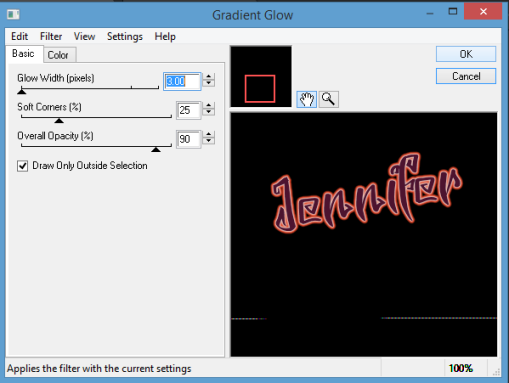
19. Add your name using Spooky Wooky font and colour #4d132f. Plugins Gradient glow with settings below.
Save as a PNG.
That's it we are finished. I hope you enjoyed my tutorial and found it easy to follow. Remember though this is just a guideline make the tag your own.
I would love to see your results and add them to this thread, so if you would like to share please email me with your results and i will get them added.
Happy Halloween
Hugs
Shaz/Gem
No comments:
Post a Comment