
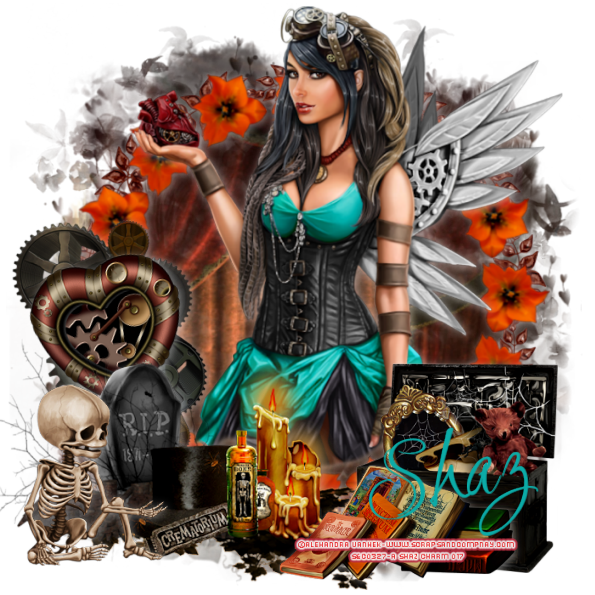
Mechanical Heart
This tutorial was written by me Fairygem on the 28th
June 2017 and is all my own idea and creation. Any resemblance to other
tutorials is purely co-incidental and not intended.
For this tutorial you will need a working knowledge of
Paint Shop Pro and layers.
For this tutorial you will need:-
Paint Shop Pro – I use X5 but any version will work
Tube of Choice – I am using a beautiful tube by Alehandra Vanhek
called Mechanical Heart. You can buy this tube at Scraps n Company HERE. Please
make sure if using the same tube as me you have the relevant license to do so.
Scrapkit – I am using a beautiful kit by Ginnibug Designs
called Mechanical Heart. You can buy this kit at Hania’s Designs HERE
Mask of choice or the one I am using which is by Rachel
Designs called Mask 3 in Set 81-100. You can get the mask HERE
Font of Choice – I am using Ruthie Font which you can get
HERE
Plugins :-
Mura Miester Copies – Encircle
All ready lets begin
1.
Open new Image 700x700,
we can resize when we are done if you so wish.
2.
Open Paper 8, resize by
80% x2. Copy and Paste as a new layer.
3.
Layers load mask and
find RD Maskset99 Mask 3. Delete mask and merge group.
4.
Open Frame 7, Copy and Paste as a new layer. Dropshadow
V2, H2, 45, Blur 15.00 White.
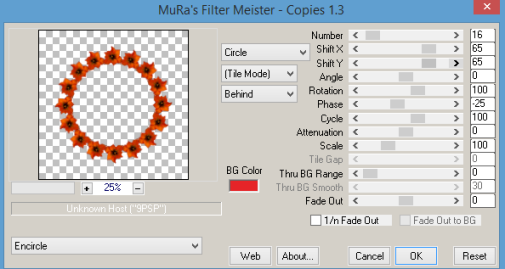
5.
Open Element 103,
Resize by 35% then 65% x2. Mura Miester copies – Encircle settings below.
6.
Open your Tube and if using the same one as I am,
Resize by 65% then 80%. Copy and paste as a new layer.
7.
Make layer 3 active and with magic wand click inside
the frame. Make tube layer active, invert and with eraser tool erase
overhanging tube. Give dropshadow as above then give flower frame same
dropshadow.
8.
Open Element 1 and
resize by 85%. Copy and Paste as a new layer placing to the bottom left.
Sharpen and D/S.
9.
Open Element 39, resize
by 65%, mirror, copy and paste as a new layer and move to the right side. D/S
10.
Open Element 48, resize
by 45%. Copy and Paste as a new layer placing in front of Element 39. D/S
11.
Open Element 56, resize
by 35%. Copy and Paste moving to the left side. Sharpen and D/s.
12.
Open Element 105,
resize by 75%. Mirror then copy and paste as a new layer moving behind Element
1 on left. Sharpen and D/S.
13.
Open Element 79 and
resize by 35%. Copy and Paste as a new layer moving to left above Element 105.
Image free Rotate 12 left. Sharpen and D/S.
14.
Add copyright and
License No
15.
Add your name using
Ruthie and colour #0baba7. D/S
16.
Resize image if you
would like to, I resized the whole image by 85%.
That’s it we are done. I hope you found my tutorial enjoyable
and easy to follow. I would love to see your results and to add any to my blog
so please feel free to email me and I will get them added.
Hugs
Hugs
No comments:
Post a Comment