PTU IRISH
FESTIVAL PTU


This tutorial was written by me Sharon/Fairygem on the 8th
March 2015 and is all my own creation. Any resemblance to other tutorials is
purely coincidental and not intended. This tutorial is for a Forum Set and Tag,
I will be starting with the tag then onto the forum set. Please be patient with
the length of this tutorial but the end results will hopefully make it all
worthwhile.
For this tutorial you will need:-
Paint Shop Pro – I am using PSPX5 but any version will work
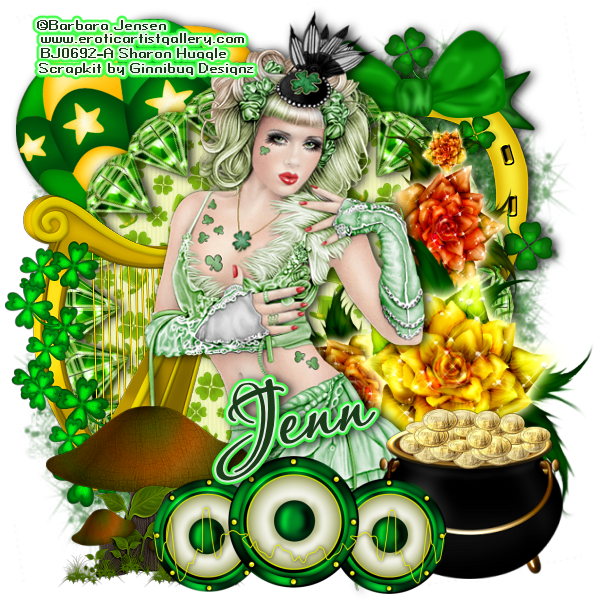
Tube of Choice – I am using the awesome artwork of Barbara Jensen for which you
need to have a license to use her artwork. You can get her work HERE
Scrapkit of Choice – I am using a wonderful kit called Irish Festival by Ginnibug
Designz. You can buy this kit HERE
Plugins:-
Mura Meister Copies
Eye Candy 5 Impact – Gradient Glow
Andrews Filter 56 Block Out
L en K Landksiteofwonders -:
L en K Katharina
L en K Zitah
Penta.Com – Colour Dot
Ok lets Start with the Tag:-
1. Open a new image 600x600
2. Open Paper 6 and resize by 75%, Copy and Paste as a new layer onto your canvas.
3. Layers Load Mask and find Gemsmask 16, Delete the mask layer
and merge group.
4. Open Balloon Element and resize by 35% , Copy and Paste moving up the the top left
corner. Give a drop shadow of 1, 4, 85 and 13.95 Black.
5. Open Horseshoe Element and resize by 35% then 65%
, Copy and paste onto canvas moving to the top right corner. Add the
same drop shadow previously used.
6. Open the Gem Element and Resize by 65%, Copy and Paste onto your canvas.
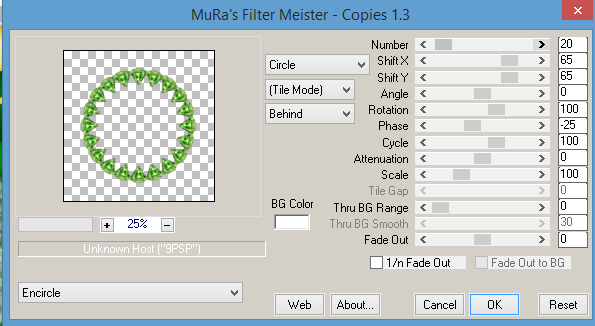
7. Effects Plugins and find your Mura Meister Copies. Use the
settings below.
8. With your magic wand click inside the frame we have just made,
selections modify and expand by 7.
9. Open Paper 2. Resize by 65% then copy and paste as a new layer, invert and delete the excess. Add a
drop shadow to the frame.
10. Open the Harp Element and resize by 25% then 70%. Copy and paste as a new layer and move to the left side of the canvas
above the frame.
11. Open the LM Flower element and resize by 55%, Copy and Paste as a new layer moving to the
right side of the canvas.
12. Open your tube and if using the same tube as me pick your
layers to match the tag. Copy and Paste as a new layer moving to the centre of
the canvas. Resize by 85% then give a
drop shadow with the settings previously used.
13. Open the Shroom element and resize by 15% then 55%, copy and paste as a new layer moving to the bottom left side of the
canvas.
14. Open the PotofGold element and resize by 25% then 60%, Copy and Paste as a new layer moving slightly to the bottom right
side.
15. Open the Speaker element and resize by 55%, Copy and Paste as a new layer moving to the bottom Middle
16. Add your copyright and license number, using a pixel font
gives the best way of adding the copyright.
17. Add your name using Aquarelle with colour # 1a3c18. I put the
name at a slant on the skirt of my tube.
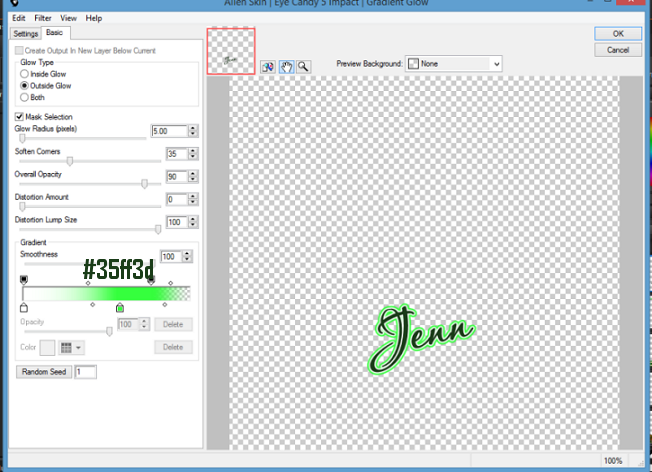
18. Add Gradient Glow with settings below, then add previously
used drop shadow.
19. Save as a Png.
Ok time for a five Minute break so go grab a coffee and take some
deep breaths lol.
Forum Tag
Ok lets begin
1. Open a new image 600x250.
2. Copy and Paste your tube as a new layer. Duplicate.
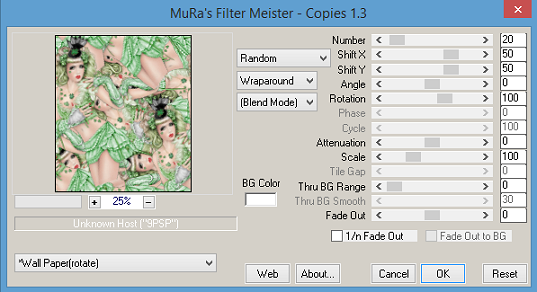
3. On the orginal go to Effects Mura Meister Copies and use
Wallpaper Rotate with the settings below.
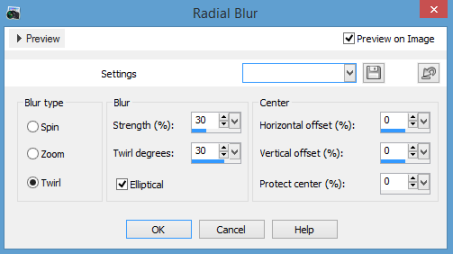
4. Go to Adjust Blur and Radial Blur and use the settings below.
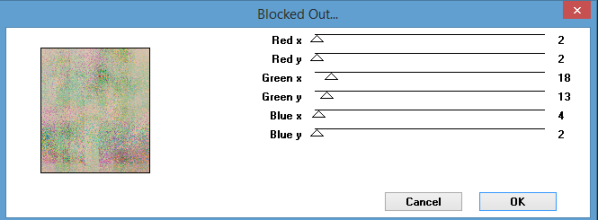
5. Go to Effects Plugins Andrews 56 – Blocked Out and use the
settings below.
6. Go to Effects Plugins L en K Landksiteofwonders – Katharina with the settings
below.

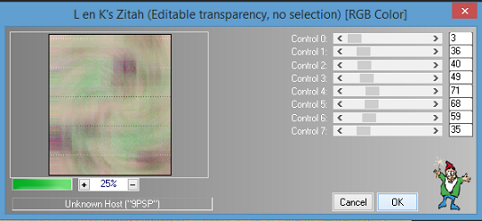
7. Go to Effects Plugins again and use L en K only this time
Zitah with the settings below.
8. Open the Rainbow Sparkles Element, Resize by 55%, Copy and Paste as a new layer moving to the
left side of your canvas and under your tube layer.
9. Open Flower Curtain Element and resize by 55%, copy and paste onto your canvas moving to
the left side of your tube. Duplicate and move next to your tube. Merge down.
10. Crop your canvas back to 600x250.
11. Add a new layer, Select all then modify contrast by 6 invert
and flood fill with colour # 609a44. Effects Plugins Penta.com Colour Dot,
Default Settings.
12. Add a drop shadow to your tube layer same as previously used.
13. Add some Wordart to your tag or use mine below right click and save. I changed the
Blend Mode to Overlay but you can use your own. Place the Wordart between the
tube and curtain layer.
14. Add your Copyright and License
15. Add your name using Aquarelle with the same colour we used
for the name in the tag. Add the same Gradient Glow.
Save as a PNG
Avatar
I find this a really easy way of doing the Avatar and won’t take as long as the other
parts of this tutorial.
1. Staying on your Forum tag, Shift D so that it duplicates.
2. Mirror your main tube, and resize by 80%.
3. Move your tube over to the left side of your set.
4. Take your crop tool and place it over your tube. Crop the tag
down to 150x180.
5. Sharpen your tube.
6. Add a New Layer, Select and modify Contrast 3. Invert and
flood fill with the same colour used for the frame on the forum tag. Effects,
Plugins Penta.com Colour Dot Default Settings.
7. Add Copyright and License Number.
8. Add your name then add gradient glow with previous settings.
Save as a PNG
views and see your results so give me a quick shout and I will
get them added.
Hugs