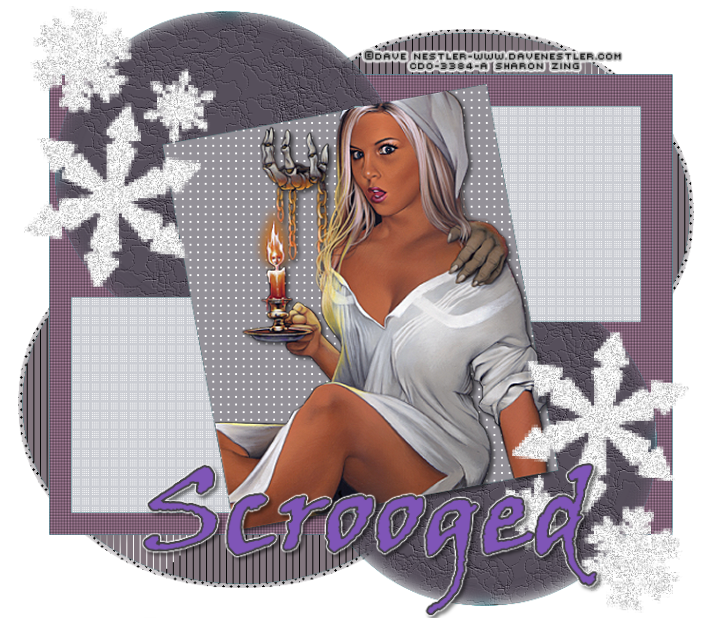
Scrooged
Old Skool Tutorial
This tutorial was written by Me on the 30th
September 2013 and is all my own idea. Any resemblance to other tutorials is
purely co-incidental and not intended.
For this tutorial you will need to have a knowledge of
working with layers, plugins and paint shop pro. No outside scraps are used in
this tutorial.
What you need:-
Paint shop pro – I am using psp 9 but any psp will
work
Psp filters
Blinds
Weave
Fine Leather
Outside plugins
Tramage – Tow the Line
Penta.com – Dots and Cross
Dbs Flux – Bright Noise
Mura Meister – Tone
Tube of Choice I am using Dave Nestler, to use his
work you need a license which you can get at CDO HERE
My Template 2 which you can get HERE
Ok lets begin
1.
Open my template,
shift D and delete the original.
2. Delete the TOU
layer.
3. Merge down the
Right and Left oval. Selections float, defloat and flood fill with a colour
from your tube, I used #82767e.
4. Duplicate the
layer and on the original go to Gaussian Blur 10. Then add Mura Meister Tone.
5.
Go to the
original and Select float, defloat, then expand by 5, back to the original and
invert delete. This will get rid of the hanging tone.
6. Back to the copy
and go to Tramage Tow the line with the default settings.
7. Highlight Large rectangle select float, defloat and
flood fill with a colour of choice or I used #af85a2.
8. Effects texture
effects, blinds with these settings:- Width 2, Opacity 30, Colour Black,
Horizontal and Light from left/top Checked.
9. Back to effects,
blinds but unchecking horizontal. Deselect.
10. Merge down Top left circle with bottom right
circle. Select float, defloat and flood fill with #564f5b or a colour of
choice. Go to effects, texture effects Fine Leather using these settings,
Colour #dcdcdc, Angle 30, Blur 40, Transparency 250, Number of Furrows 40 and
Length of Furrows 4. Deselect.
11. Merge together Top right rectangle and bottom
left rectangle, select float, defloat and flood fill with a colour of choice I am
using #cbcdd3.
12. Effects Penta.com Dots and Cross default
settings. Deselect.
13. Select the main square, float, defloat and
flood fill with a colour of choice or the one I am using, #949198.
14. Effects Texture
effect Weave with the following settings, Gap size 2, Width 6, Opacity 1, Weave
and Gap colour White, Fill Gap checked. Do not deselect yet.
15. Open your tube Copy and paste as a new layer
into the main square,invert and delete the overhanging tube. Add a
dropshadow 3, 3, 50 and 5, colour Black.
Deselect.
16. Highlight the snowflake layer, select float,
defloat, effects Dbs Flux Bright noise, Intensity 76 Mix. Add the same
dropshadow previously used.
17. Add your copyright and whatever watermark you
use.
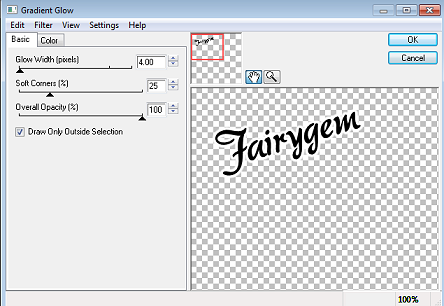
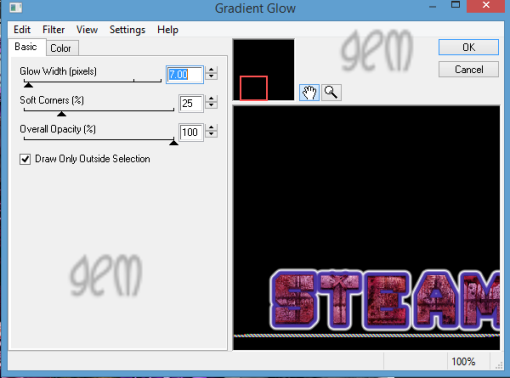
18. Add your name with your font of choice, I used
Viner Hand ITC and give a Gradient Glow with the following settings below
19. Save as a png.
20. That’s it we’re done I hope you found this
easy to follow and enjoyed going back to the old skool way.
Hugs
Gem/Sharon xx

No comments:
Post a Comment