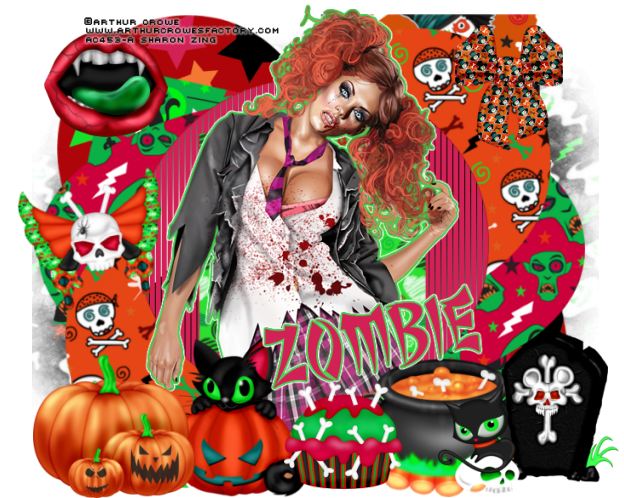
Pages

Monday 30 September 2013

FTU ZOMBIE

FTU
Zombie
zombie tag
This tutorial was written by me on the 30th September 2013 and is purely my own idea, any resemblance to other tutorials is purely co-incidental and not intended.
For this tutorial you need to have a working knowledge of layers.
What you need:-
Paint Shop Pro, I am using psp9 but any psp will work.
Tube of choice, I am using the awesome artwork of Arthur Crowe. You need to have a license to use his work which you can get HERE.
Scrapkit of choice, I am using a scrapkit called Zombie by Kittz creations which you can download HERE.
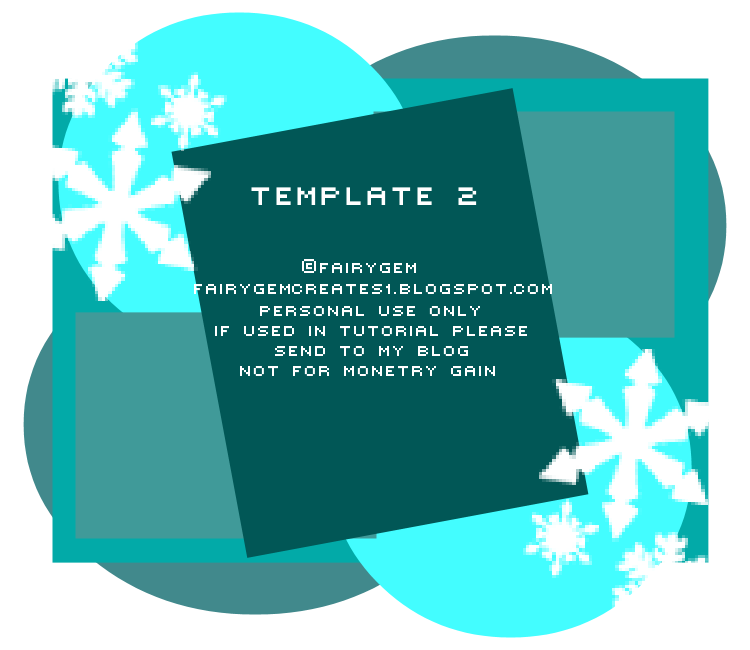
My Zombie template which you can download HERE
Font of choice, I am using Seven Monkeys Fury.
Mask of choice, I am using 157 by Cat at Insatiable dreams which you can get HERE.
Plugin’s:-
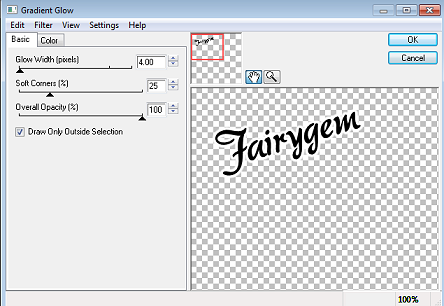
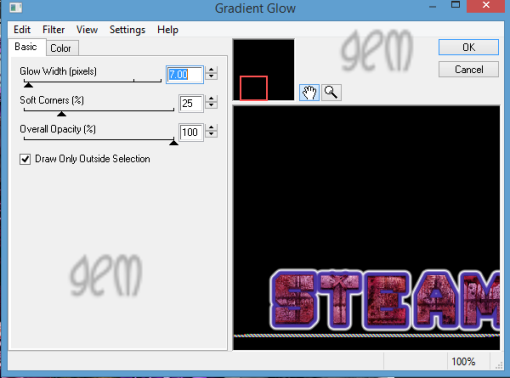
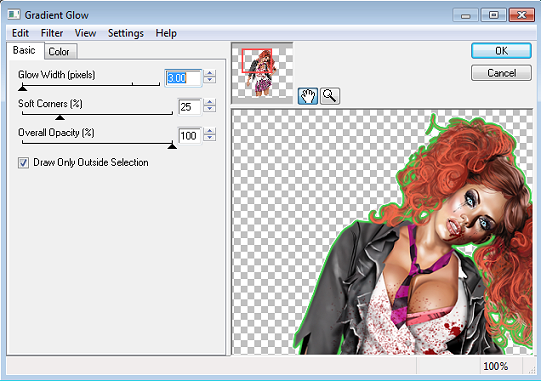
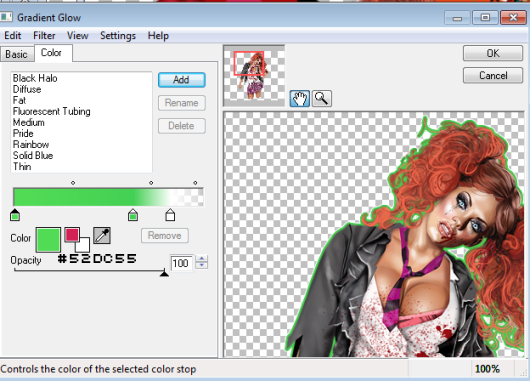
Eye Candy 4000 – Gradient Glow
Tramage – Tow the Line
Ok lets begin.
1.    Open my template Shift D and delete the original. Delete the TOU layer.
2.    Go to the bottom of the template and Open paper 7, Layers load mask from disc and find 157 insatiable dreams. Load the mask, delete mask layer then merge group.
 3.    Merge together the top left and bottom right circle, select float, defloat and open paper 11. Copy and paste as a new layer invert and delete. Deselect and delete the original layer.
 4.    Highlight the rectangle layer, select float, defloat and open paper 1. Copy and paste as a new layer, invert delete. Deselect and delete the original layer.
 5.    Merge together the top right square and bottom left square, select float and defloat. Open paper 9 copy and paste as a new layer, invert and delete. Deselect and delete the original layer.
 6.    Highlight the oval layer, select float, defloat and open paper 3. Copy and paste as a new layer, invert delete. Deselect and delete the original layer.
 7.    Merge together bottom left circle with top right circle, select float and defloat. Open paper 10. Copy and paste as a new layer, invert and delete. Deselect and delete the original layer.
 8.    Highlight middle circle, select float and defloat. Add a new layer and flood fill with #d22155. Effects Tramage – Tow the line and use the default settings. Deselect and delete the original layer.
 9.  Highlight the middle square, select float and defloat. Open paper 8 and resize by 70%. Copy and paste as a new layer, invert delete. Deselect and delete the original layer.
10.    Open your tube, if using the same tube as me resize by 65% then 94%. A close up is the best for this tutorial. Remember to sharpen your tube after resizing. Place the tube 
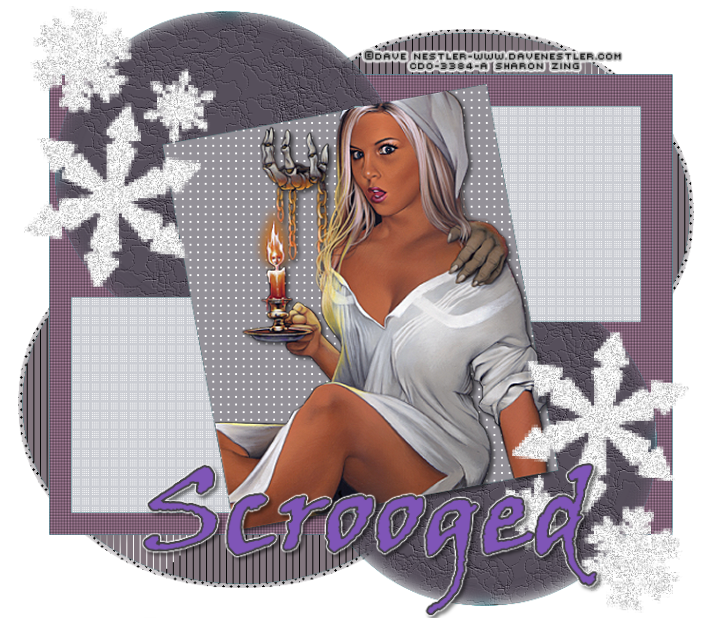
between the square so equal parts are showing see my tag for placement.
 11.  Open Z-61 element and resize by 35%. Copy and paste as a new layer moving to the top right side of the tag. Remember to sharpen.
 12. Open Z-28 element and resize by 50%. Copy and paste as a new layer placing on the right side of the tube.
 13.   Open Z-3 element and resize by 50%. Copy and paste as a new layer placing to the left side of the tube.
 14.    Open Z-5 element and resize by 45%. Copy and paste as a new layer placing to the far left side of the tube.
 15.   Open Z-23 element and resize by 50%. Copy and paste as a new layer placing in front of the tube.
 16.   Open Z-2 element and resize by 50%. Copy and paste as a new layer placing at the top left side of the tag.
 17.    Open Z-19 element and resize by 40%. Copy and paste as a new layer placing in the middle left side of the tag. Image rotate free rotate 11% to the left.
18.   Open Z-33 element and resize by 45%. Copy and paste as a new layer placing to the far right side of the tag.
 19.    Go back to your tube and add gradient glow with the settings below.
gradient glow setting 1
gradient glow setting 2
 20.    Add your copyright and watermark.
 21.       Add your name with your font of choice or the one I am using. Add same gradient glow as previously used.
 22.      Save as a png.
Hope you had fun doing my tutorial if you have any questions leave a comment and i'll get back to you asap.
Hugs
Gem/Sharon xxx


SCROOGED - Old Skool Tutorial

Scrooged
Old Skool Tutorial
 scrooged tag
This tutorial was written by Me on the 30th September 2013 and is all my own idea. Any resemblance to other tutorials is purely co-incidental and not intended.
For this tutorial you will need to have a knowledge of working with layers, plugins and paint shop pro. No outside scraps are used in this tutorial.
What you need:-
Paint shop pro – I am using psp 9 but any psp will work
Psp filters
Blinds
Weave
Fine Leather
Outside plugins
Tramage – Tow the Line
Penta.com – Dots and Cross
Dbs Flux – Bright Noise
Mura Meister – Tone
Tube of Choice I am using Dave Nestler, to use his work you need a license which you can get at CDO HERE
My Template 2 which you can get HERE
Ok lets begin
 1. Open my template, shift D and delete the original.
 2. Delete the TOU layer.
 3. Merge down the Right and Left oval. Selections float, defloat and flood fill with a colour from your tube, I used #82767e.
 4. Duplicate the layer and on the original go to Gaussian Blur 10. Then add Mura Meister Tone.
5. Go to the original and Select float, defloat, then expand by 5, back to the original and invert delete. This will get rid of the hanging tone.
 6. Back to the copy and go to Tramage Tow the line with the default settings.
 7. Highlight  Large rectangle select float, defloat and flood fill with a colour of choice or I used #af85a2.
 8. Effects texture effects, blinds with these settings:- Width 2, Opacity 30, Colour Black, Horizontal and Light from left/top Checked.
 9. Back to effects, blinds but unchecking horizontal. Deselect.
 10. Merge down Top left circle with bottom right circle. Select float, defloat and flood fill with #564f5b or a colour of choice. Go to effects, texture effects Fine Leather using these settings, Colour #dcdcdc, Angle 30, Blur 40, Transparency 250, Number of Furrows 40 and Length of Furrows 4. Deselect.
 11. Merge together Top right rectangle and bottom left rectangle, select float, defloat and flood fill with a colour of choice I am using #cbcdd3.
 12. Effects Penta.com Dots and Cross default settings. Deselect.
 13. Select the main square, float, defloat and flood fill with a colour of choice or the one I am using, #949198.
 14. Effects Texture effect Weave with the following settings, Gap size 2, Width 6, Opacity 1, Weave and Gap colour White, Fill Gap checked. Do not deselect yet.
 15. Open your tube Copy and paste as a new layer into the main square,invert and delete the overhanging tube. Add a dropshadow  3, 3, 50 and 5, colour Black.  Deselect.
 16. Highlight the snowflake layer, select float, defloat, effects Dbs Flux Bright noise, Intensity 76 Mix. Add the same dropshadow previously used.
 17.  Add your copyright and whatever watermark you use.
 18. Add your name with your font of choice, I used Viner Hand ITC and give a Gradient Glow with the following settings below
gradient glow settings 1
gradient glow settings 2
 19. Save as a png.
20. That’s it we’re done I hope you found this easy to follow and enjoyed going back to the old skool way.
Hugs
Gem/Sharon xx


New Templates

Hi everyone, not been on for awhile been really busy sorting things out in real life and its not been pretty. But instead of it getting me down its making me stronger though I am still having dark days but not letting them take over too much.
Anyway been busy making another four templates to be used by you wonderful people. Remember my TOU but above all else have fun.
Previews below
Template 1
template 1 preview
Template 2
template 2 preview
Template 3
template 3 preview
Template 4
template 4 preview png
Download HERE

Tuesday 10 September 2013

New Templates

I have some new templates for you. Was in a competition for LadyQueen and she asked for templates with the words 'Don't write Checks your A$$ can't cash' i made for and wanted to share them with you all. Would love to see what you make with them so email me and i will put them on show.
Template 1
Dont write checks preview
Download HERE
Template 2.
Don't write checks2 preview
Download HERE
Template 3.
Don't write checks3
Download HERE
Template 4.
don't write checks Preview
Download HERE
Have a wonderful time using them and please remember my TOU
and if you download a thank you wouldn't go amiss but would last a lifetime
Hugs
Gem xx